To edit video on iPhone, import your clips, trim the dead ends, split and ripple-delete what you do not want, add captions and music, apply one colour look, reframe to the platform ratio, and export at 1080p. The tedious steps - silence removal, captions and the 9:16 reframe - can run automatically and on-device, so no footage leaves the phone.
You do not need a laptop to edit video anymore. A modern iPhone has the silicon to cut, caption, grade and export a finished clip without ever handing the file to a server. What follows is the whole loop, in the order you will actually do it.
Step 1: Get your footage into an editor
Record on the phone or import from Photos or Files. Bring in every clip you might use - you will delete the weak takes as you go. A good editor lets you drag clips onto a single timeline and reorder them with a long-press.
Under the hood this is AVFoundation, Apple's media framework, which is what composes the timeline and writes the finished file back out on iOS and macOS alike.
Step 2: Trim and cut
This is 80% of editing.
- Trim the ends of each clip - the first and last couple of seconds are almost always throat-clearing.
- Split a clip where a mistake happens, then ripple-delete the bad chunk so the timeline closes the gap automatically.
- Watch it back. If it flows without dead air, the hard part is done.
Cutting silences and filler words ("um," "uh," "like") by hand is slow. On Zella for iPhone, one-tap Auto-Polish removes silences and fillers, polishes the voice, and frames the speaker for you - all on-device.
Step 3: Add captions
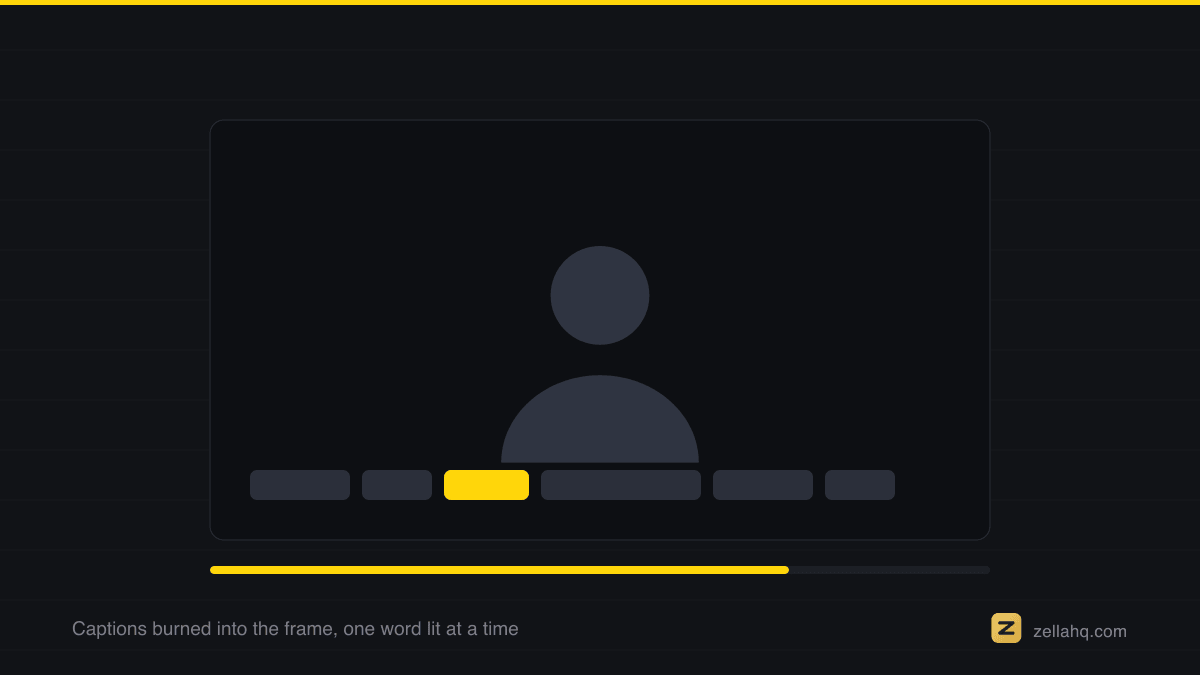
Most people watch social video on mute, so captions are not optional - they directly lift how far viewers watch. Look for an editor that transcribes on-device so your audio never uploads. You want timed captions with an active-word highlight, which are far more engaging than a static block of text. See how to add captions to a video on iPhone.
Step 4: Add music and sound
Drop a music bed under your voice, then use Auto-Duck so the music drops in volume whenever you speak. A few well-placed sound effects on transitions or emphasis moments add polish. Keep music quiet - it should support your voice, not fight it.
Step 5: Color and looks
A single color look (a preset or LUT) unifies footage shot in different lighting and instantly reads as "edited." Apply one, then pull an intensity slider back to taste. Do not overdo it - the goal is consistency, not a filter that screams.
Step 6: Reframe for the platform
A video shot horizontally needs to become 9:16 for TikTok, Reels, and Shorts, or 1:1 for a feed post. Manual cropping constantly loses the subject. Face-aware Make Vertical keeps the speaker centered automatically. See how to make a video vertical on iPhone.
Step 7: Export and post
Export at 1080p for social (4K if the platform supports it and you have Pro). Choose the platform preset so the aspect ratio and quality are correct, then share straight to the app or save to Photos. On Zella, you can also hand the project to the Mac app as a .zella file to finish on a bigger screen.
What costs money and what does not
Worth knowing before you plan an edit, because the free ceiling is about export, not about features:
| Free | One-time Pro | |
|---|---|---|
| Recording length | Unlimited | Unlimited |
| The editor and every AI feature | Included | Included |
| Watermark | None | None |
| Export length | Up to 2 minutes | Unlimited |
| Export resolution | Up to 1080p, free forever | 4K, and 8K on Mac |
| Transparent background, 60 fps, custom bitrate | - | Included |
| Keyframe curves, feathered masks, speed ramps, Color Match, luma scope | - | Included |
| Saved templates and batch export | - | Included |
Pro is $89 once, not a subscription, and it is a Universal Purchase: one payment covers Mac and iPhone on the same Apple ID. Every new install also starts with 7 days of the full Pro feature set, no card required.
Why a dedicated editor beats the Photos app
Photos handles one clip: trim, crop, rotate, filters, light adjustments. A real editor puts several clips on a timeline and adds the things Photos has no concept of - captions, a graded look, a tracked reframe, a music bed mixed under your voice. Zella does the repetitive parts - silence removal, captions, reframe - automatically, 100% on-device, with a free tier so you can try it all. Zella for iPhone is out now on the App Store; the Mac app ships on the Mac App Store today. One Pro purchase lifts the export length cap, adds 4K, and covers both.
Tips for faster edits
- Edit in one sitting while the footage is fresh in your head.
- Cut first, polish second. Do not color-grade a clip you might delete.
- Keep it short. Tighter almost always beats longer.
- Save the project so you can come back - good editors autosave.
Frequently asked questions
What is the easiest video editing app for iPhone beginners? One that automates the tedious parts. Auto-cleanup, auto-captions, and one-tap reframe remove the steps that make editing feel hard.
Can I edit 4K video on my iPhone? Yes. Modern iPhones edit and export 4K on-device; 4K export in Zella is a Pro feature.
Do I need internet to edit video on iPhone? Not with an on-device editor. Zella processes everything on the phone, so you can edit on a plane - see how to record and edit video offline on iPhone.
Make your next video with Zella.
Record, edit and ship on Mac and iPhone - local, private, free to start.
RELATED