To record better video on iPhone, open Settings > Camera > Record Video and pick 4K at 24 or 30 fps, turn on Enhanced Stabilization and the grid, then touch and hold your subject to lock AE/AF before you roll. Light your face from the front and keep the mic within about three feet. Trim, caption and reframe on the phone afterward.
Most "bad" iPhone videos are not a camera problem. They are a settings, lighting and audio problem, and all three are free to fix. The camera in your pocket already out-resolves the gear people built careers on a decade ago; it is just pointed at the wrong light with the microphone four feet too far away.
Dial in the camera settings first
- Shoot 4K. Open Settings > Camera > Record Video and pick 4K at 24 fps for a filmic look or 4K at 30 fps for everyday clarity. Even if you post at 1080p, the extra resolution gives you room to reframe and crop later without losing sharpness.
- Turn on Enhanced Stabilization. Same menu. It smooths out handheld wobble so a walk-and-talk does not look seasick.
- Enable the grid. Settings > Camera > Grid. The rule-of-thirds lines help you place your eyes on the top third instead of dead-center, and the level keeps your horizon straight.
- Record stereo audio. Settings > Camera > Record Stereo Sound. Richer sound instantly reads as "more professional."
Apple's audio fundamentals is the shortest useful explanation of levels and headroom - including why a technically correct peak can still sound bad.
Frame and expose the shot
- Lock focus and exposure. Tap and hold your subject until AE/AF Lock appears, then slide up or down to fine-tune brightness. This stops the annoying auto-refocus hunt mid-take.
- Fill the frame with your subject. Move the phone closer instead of zooming - digital zoom just crops and softens the image.
- Shoot at eye level. Prop the phone up so the lens meets your eyeline. Filming up your own nose is the single most common amateur tell.
Light and audio make or break it
- Face the light. Put a window or lamp in front of you, not behind. Backlight turns you into a silhouette.
- Avoid overhead-only light. It casts shadows under the eyes. A soft light at face height is worth more than any editing trick.
- Get the mic close. iPhone mics are good but they fall off fast with distance. Within three feet is ideal; closer if the room is echoey. A cheap lav mic is the best five dollars a talking-head creator can spend.
Audio is half the video, and the cheapest half to fix
Viewers forgive a soft-looking picture and abandon bad sound, which is backwards from how most people spend their money. Four fixes that cost nothing:
- Halve the distance. Sound falls off fast with distance, so moving the phone from six feet to three feet does more for the take than any setting in the camera menu.
- Kill the room, not the noise. Echo comes from bare walls and hard floors. Record in a room with a rug, a sofa or a bed in it and the take instantly sounds closer.
- Face away from the fridge. Compressors, fans and air conditioning sit under your voice as a constant hum that is far harder to remove than a one-off bang.
- Never record outdoors without a windscreen. Wind on a bare mic clips, and clipped audio cannot be repaired afterwards by any tool.
Then record a ten-second test and listen back on headphones before the real take. It catches the fan, the echo and the wrong mic every single time, and it costs ten seconds.
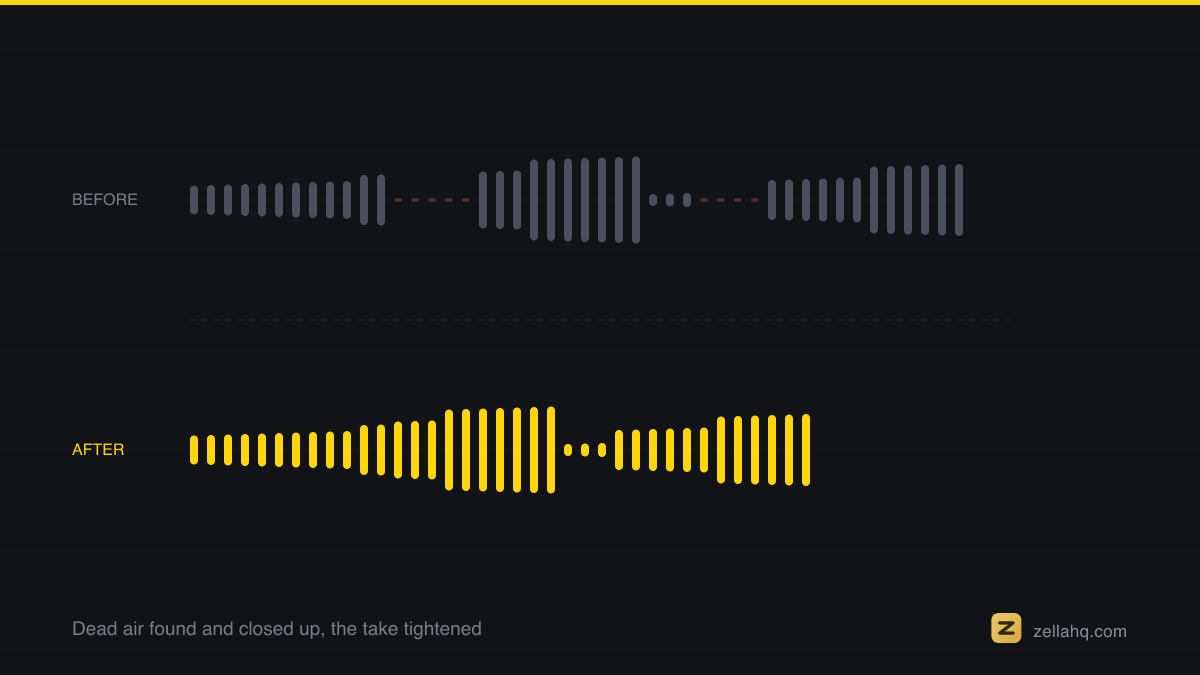
Clean it up on-device before you post
- Trim the dead air. The first and last few seconds are almost always throat-clearing. Cutting them tightens the whole video.
- Caption and reframe on your phone. Most social viewers watch on mute, so burned-in captions lift retention. And a 16:9 clip needs to become 9:16 for TikTok, Reels, and Shorts.
This is where a dedicated editor beats the Photos app. Zella for iPhone records with the front or back camera and a live background you can blur or replace while you film, then lets you trim, generate on-device captions, and one-tap Make Vertical - all without uploading anything. See the iOS recording guide to set it up; the iPhone app is available on the App Store, and one Pro purchase covers Mac and iPhone.
Tips for consistently good takes
- Record a three-second buffer before and after you talk so you have room to trim.
- Clean the lens. A smudge softens every frame.
- Do the whole take in one continuous shot when you can - fewer cuts to fix later.
- Watch one take back with the sound off. If you can follow it muted, captions will do the rest.
Frequently asked questions
What is the best iPhone video setting for social media? 4K at 30 fps with Enhanced Stabilization on. Record wide (the standard 1x lens), then reframe to 9:16 in an editor so you keep the full-quality source.
Should I record in 24 or 30 fps? 24 fps looks more cinematic; 30 fps looks cleaner for tutorials and talking-head. 60 fps is only worth it for slow motion.
Do I need extra gear to record good iPhone video? No, but two upgrades punch above their price: a small front light and a clip-on microphone. Everything else is settings and framing.
How do I make an iPhone video look professional after recording? Trim the dead air, add captions, grade the color, and reframe for the platform. You can do all of it on the phone - see how to edit video on iPhone.
Make your next video with Zella.
Record, edit and ship on Mac and iPhone - local, private, free to start.
PART OF A SERIES
Recording vertical and on the phone
Getting a 9:16 file out of the camera instead of cropping one later.
- How to Record Vertical Video on a Mac
- How to Record Better Video on iPhone: 12 Real Settingsyou are here
- How to Zoom In While Recording Video on iPhone Without It Jumping
- Best Screen Recorder for iPhone in 2026 (With Editing)
All of it lives under Capture.
RELATED